Struggling with acid residues or heavy metals in your lab glassware? This 2026 guide covers the 4-step cleaning process, sterilization safety, and pro tips for maintaining your Borosilicate 3.3 bottles.
Are you tired of risking your safety just to get a flask clean after an experiment? Whether it’s stubborn organic matter mixed with acid or the lingering worry of heavy metal contamination, lab cleaning shouldn’t feel like a life-threatening task. In this guide, MSD Glass addresses the most frustrating cleaning challenges—so you can keep your lab sparkling and your hands safe.
We understand that clean laboratory glassware is critical. Lab bottles are repeatedly exposed to various substances. Dirty glassware is a leading cause of experimental errors; invisible traces of ions or solvent residues can ruin sensitive results. However, with the right solvents, detergents, and techniques, these errors are entirely preventable.
1.Know Your Material (Borosilicate 3.3 Glass): Ensure you are using high-quality glassware. MSD’s Borosilicate 3.3 bottles offer superior chemical resistance and a non-porous surface, making them easier to clean than soda-lime glass.
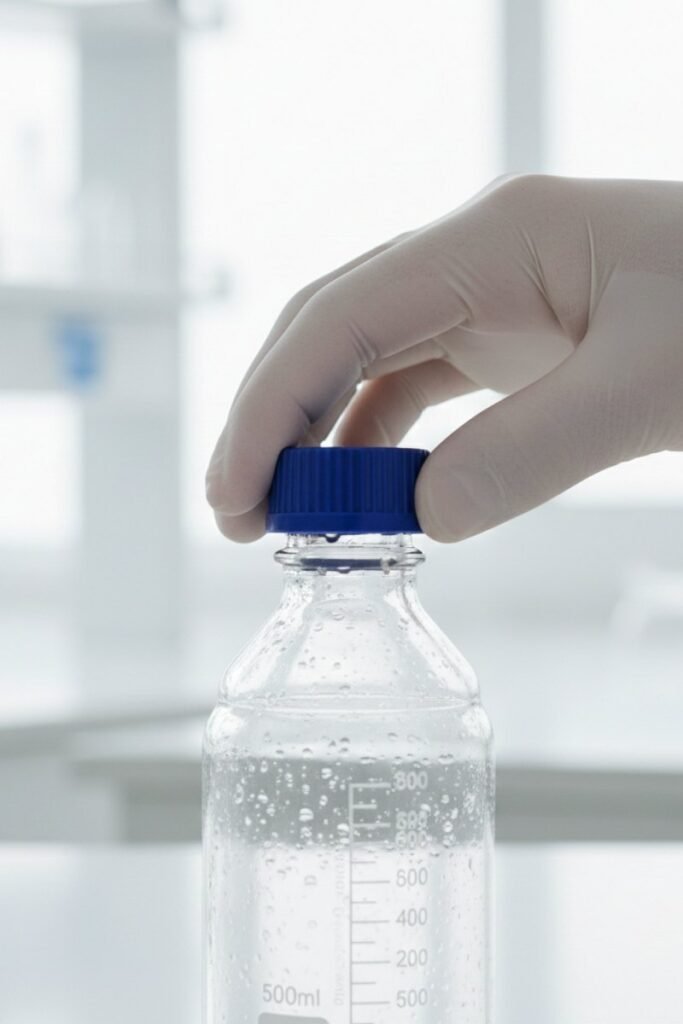
2.PPE is Non-Negotiable: Always wear thick nitrile gloves. This is your primary barrier against skin burns from corrosive detergents or hazardous residues.
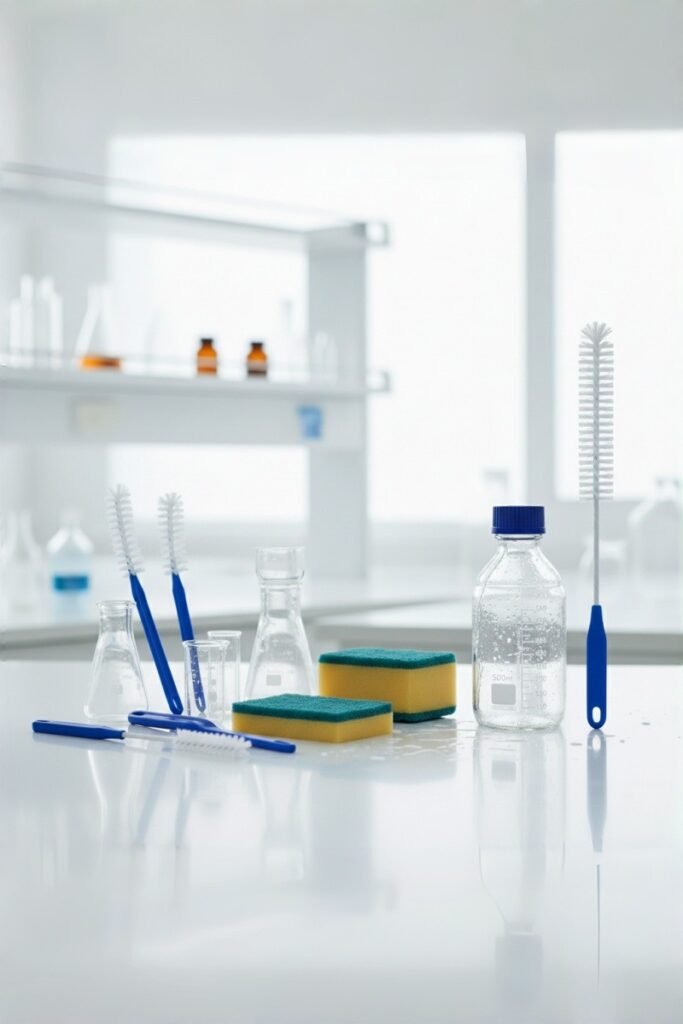
3.The Right Detergent: Choose a detergent capable of breaking down stubborn stains. For general use, Alconox or Liquinox is recommended.
4.Proper Cleaning Tools: Use only soft-bristle brushes or clean sponges. Never use abrasive pads or wire brushes, as these create microscopic scratches that weaken the glass and trap contaminants.
A complete cleaning cycle consists of four stages. Note that not every stage is necessary for every experiment, but understanding them is key.
1. Preliminary Cleaning (Pre-soak) This step aims to remove gross contaminants attached to the interior surface. For dried-on residues, soaking is more effective and safer than physical scrubbing.
2. Neutralization & Surface Quality If acidic or alkaline chemicals were used, a neutralization step is required.
Expert Note: While using the right detergent (like Alconox) is crucial, the quality of the glass itself matters even more. Cheap glass has microscopic surface irregularities where ions can hide. MSD’s high-precision Borosilicate 3.3 bottles feature an ultra-smooth surface, making the decontamination process significantly more effective.
3. Rinsing (The Most Important Step) Tap water is not enough. The final rinse must be done with Distilled or Deionized (DI) water. This removes tap water minerals and ensures no detergent film remains.
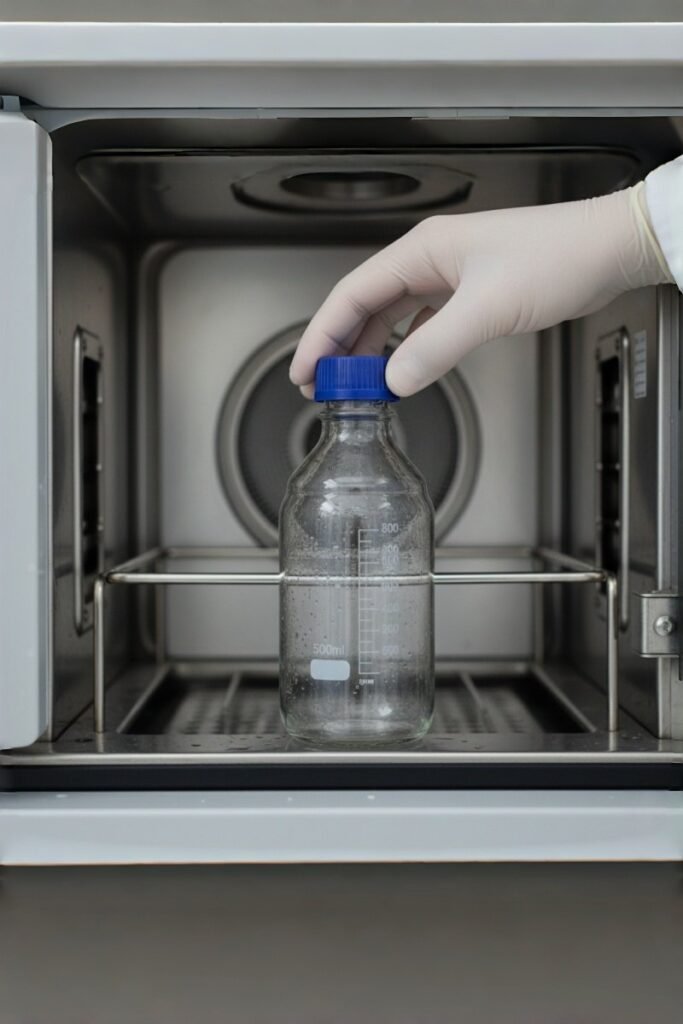
4. Sterilization (Autoclaving) For clinical or microbiology labs, sterilization is a must to protect culture integrity.
Safety Warning: When autoclaving, always loosen the screw cap. Tight caps can cause pressure buildup and explosion.
Why Sterilize? Regular, correct sterilization removes biological agents and chemical films that might otherwise corrode the glass over time.
Avoid Abrasives: Never use steel wool. Scratches become stress points that lead to cracks under heat.
The “Soak First” Rule: Soak stubborn residues in warm detergent for 1-2 hours. Don’t force it.
Fight “Rainbow” Stains: If your bottle develops a rainbow-colored haze (caused by alkali attack), soak it in 1% Acetic Acid. This neutralizes the residue and restores clarity.
Ultrasonic Cleaning Caution: When using an ultrasonic cleaner, never let the bottle touch the metal tank bottom. Use a suspension basket. Direct contact causes micro-fractures that can lead to failure during autoclaving.
Protect the Graduations: The white/blue scale marks are baked enamel. Avoid prolonged soaking in strong alkaline solutions to prevent fading.
Inspection is Key: After cleaning, hold the bottle up to the light. Any deep scratches or “star cracks”? Retire it immediately.
Drying: Air dry on a rack or use clean nitrogen. Avoid wiping with cloth towels to prevent lint contamination.